Kids’ artwork is full of personality, imagination, and memories. However, a steady stream of drawings, paintings, crafts, and school projects can quickly take over the refrigerator, kitchen counter, and playroom.
The goal is not to save every piece or throw everything away. A simple organizing system can help you enjoy the artwork, preserve meaningful projects, and give your child a chance to take part in the process.
Start With a Simple Sorting System
Before choosing storage containers, decide how you want to sort the artwork. A clear system makes it easier to decide what to keep and where each item belongs.
Try creating three basic categories:
– Display: Artwork that deserves a place where everyone can see it
– Save: Special pieces to keep for the future
– Recycle or reuse: Items that no longer need to be stored
You can add a fourth category if helpful:
– Action: Artwork that needs a photo, signature, project date, or another step before it is stored
Keep the categories simple enough for your child to understand. If sorting takes too long, it may become difficult to maintain. A quick weekly review is often more useful than waiting until a large pile has formed.
Create a Dedicated Art Display Area
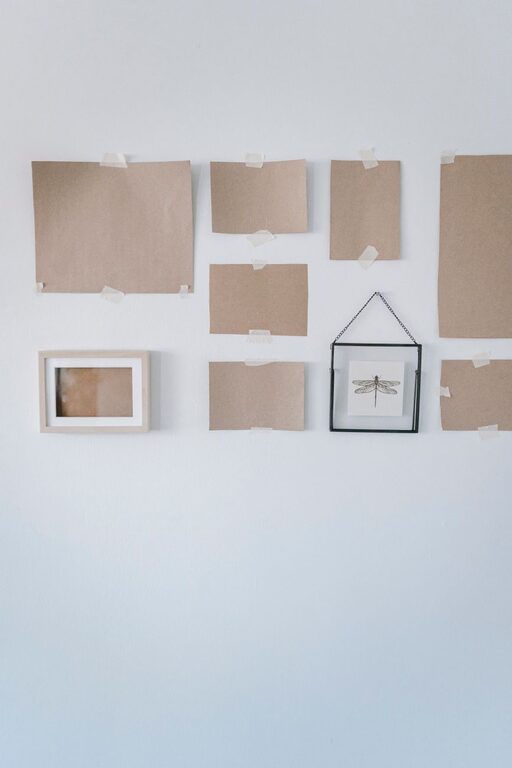
A rotating display area gives kids a sense of pride without requiring every piece to stay on the wall. Choose a spot that is easy to reach, such as a hallway, playroom wall, bulletin board, or side of the refrigerator.
Useful display options include:
– Clipboards mounted on the wall
– String with clothespins
– Magnetic frames
– Corkboards
– A large wire grid
– A gallery ledge
– Removable adhesive hooks
Leave enough room for several pieces, but set a clear limit. For example, the display area might hold five to ten items. When it is full, your child can choose which piece comes down before a new one goes up.
This approach turns displaying art into an ongoing activity rather than a permanent clutter problem. It also gives children practice making choices and caring for their belongings.
Use a Keep Box for Each Child
A labeled box or portfolio can hold artwork that you want to keep but do not need to display. Choose a container that is sturdy, easy to access, and large enough for the type of art your child usually creates.
Good options include:
– Flat art portfolios
– File boxes
– Document cases
– Plastic storage bins
– Expandable folders
– Large envelopes
Label each container with your child’s name and the school year or age range. If you have more than one child, separate containers help prevent mix-ups and make it easier to find specific pieces later.
Avoid choosing an oversized container unless you have a clear plan for managing it. A container with a fixed limit encourages thoughtful choices and prevents the collection from growing without control.
Sort Artwork by Size and Type
Different kinds of artwork are easier to manage when stored in appropriate ways. Flat drawings can go into folders, while three-dimensional crafts may need a box.
Consider organizing items into groups such as:
– Drawings and coloring pages
– Paintings
– School projects
– Handmade cards
– Paper crafts
– Sculptures and models
– Seasonal artwork
Use folders, envelopes, or dividers to separate these categories. For especially large pieces, consider storing them flat under a bed, on a closet shelf, or inside a large art portfolio.
For bulky projects, save only the parts that matter most if the full item is difficult to store. A photo can preserve the overall project while taking up much less space.
Take Photos of Large or Fragile Projects
Some artwork is too large, delicate, or unusual to store for a long time. Before recycling it, take a clear photo. This is especially useful for sculptures, cardboard creations, classroom displays, and projects made with materials that may not last.
For better results:
- Photograph the artwork in good natural light.
- Place it against a simple background.
- Include your child in the photo when appropriate.
- Record the date and a short description.
- Save the image in a clearly labeled digital folder.
You can create one folder for each child and organize it by year. A simple file name, such as “Sam painting spring 2026,” makes the collection easier to browse later.
Digital photos do not replace every original, but they allow you to remember projects without keeping every physical item.
Give Kids a Role in the Process
Children are more likely to accept an organizing system when they help create it. Explain that there is limited space, but that their most meaningful work can still be saved and enjoyed.
Ask questions such as:
– Which piece are you most proud of?
– Which one should we display?
– Does this remind you of a special activity?
– Would you like to keep the original or take a photo?
– Is there another way we could use this?
Keep the conversation positive. Avoid describing artwork as “bad” or “not good enough.” Instead, focus on memories, effort, creativity, and personal meaning.
You can also let your child decorate the outside of a storage box or choose the colors for labels and folders. Small choices make the system feel personal.
Set a Regular Review Routine
Artwork is easier to organize when you handle it often. Choose a routine that fits your household, such as a weekly, monthly, or end-of-school-year review.
During each review:
– Gather new artwork from backpacks, desks, and display areas.
– Remove pieces that are ready to be stored or recycled.
– Photograph large projects.
– Add selected items to the keep box.
– Check whether the storage container is becoming too full.
– Return display pieces to their designated area.
A short routine prevents artwork from becoming an overwhelming project. You might set aside ten minutes on a weekend or review new pieces when unpacking school bags.
Reuse Artwork Whenever Possible
Not every piece needs to go directly into storage or recycling. Artwork can often be turned into useful or thoughtful items.
Try using drawings and paintings as:
– Gift wrap
– Greeting cards
– Bookmarks
– Collage materials
– Thank-you notes
– Drawer or shelf liners
– Labels for storage boxes
– Decorations for family celebrations
Ask your child before reusing a favorite piece. Some artwork may have special meaning, even if it appears simple. Setting aside a small craft area for reuse can also encourage kids to experiment with older materials.
Preserve Especially Meaningful Pieces
Some artwork marks a special moment, such as a first drawing of a person, a family portrait, or a project connected to an important event. Store these pieces separately from everyday artwork.
You might create a special memory folder or small keepsake box for items that have extra significance. Add a short note with the date, the child’s age, or the story behind the piece. These details can make the artwork more meaningful when you look at it later.
For paintings or drawings made with materials that may smudge, place a sheet of plain paper between items. Store artwork away from moisture, direct sunlight, and extreme heat.
Make the System Easy to Maintain
The best organizing system is one your family can use without much effort. Keep supplies nearby, label containers clearly, and avoid creating too many rules.
A practical setup might include:
– One display area
– One keep box per child
– A small recycling or reuse stack
– A folder for digital photos
– A monthly review reminder
As children grow, update the system to match their changing interests and the amount of artwork they create. The purpose is not to create a perfect archive. It is to make room for creativity while preserving the pieces that matter most.
With a little planning and regular attention, kids’ artwork can become an enjoyable collection of memories instead of a source of clutter.
About the Author