Give Your Walls a Personal Touch
Blank walls can make a room feel unfinished, but decorating them does not have to be expensive or complicated. With a few basic supplies and some creativity, you can make attractive wall decor that reflects your style.
These easy DIY ideas work well in living rooms, bedrooms, home offices, entryways, and even hallways. Choose one project for a small update or combine several to create a complete gallery wall.
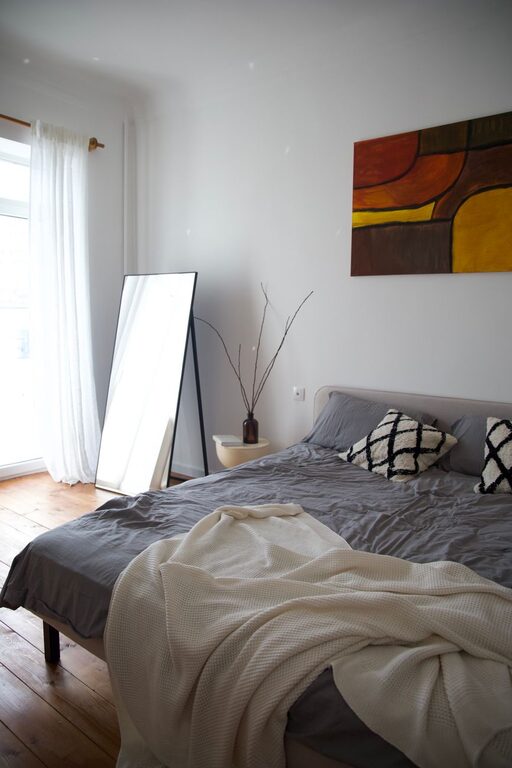
Before you begin, consider the size of your wall, the colors already in the room, and how much time you want to spend. Simple materials such as paper, fabric, wood, and dried plants can make a big visual impact.
1. Create a Simple Gallery Wall
A gallery wall is one of the easiest ways to fill a large, empty space. You can use family photos, art prints, postcards, children’s drawings, or anything else that has meaning to you.
How to make it
- Collect several pieces in different sizes.
- Choose frames that match or complement one another.
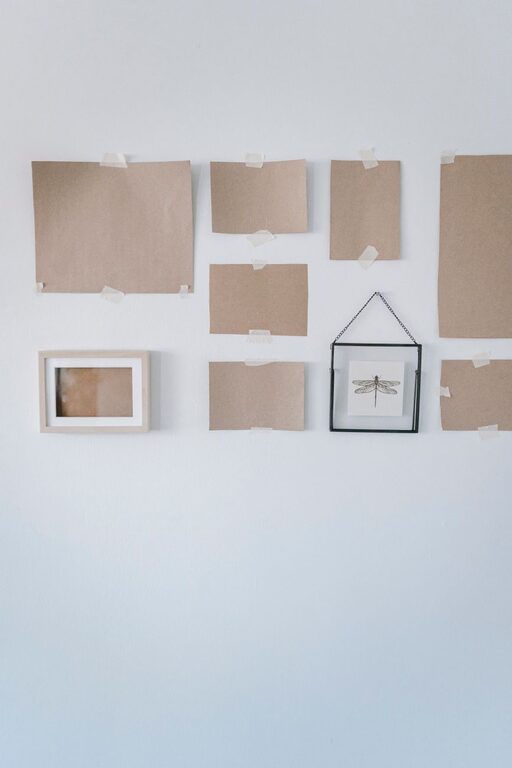
- Arrange everything on the floor before hanging it.
- Leave a few inches of space between each piece.
- Take a quick photo of the arrangement for reference.
- Hang the pieces, starting with the largest item.
For a neat look, use frames in the same color. For a more relaxed style, mix wood, metal, and painted frames. You can also create a theme, such as travel memories, nature prints, or black-and-white photography.
2. Make a Fabric Wall Hanging
Fabric wall hangings add warmth, texture, and color without making a room feel crowded. This project is especially useful for bedrooms, reading corners, and home offices.
Supplies
– A piece of fabric
– A wooden dowel
– String or cord
– Scissors
– Fabric glue or a needle and thread
Cut the fabric to your preferred size and create a clean fold along the top edge. Attach the fold around the dowel with glue or stitches. Tie string to both ends of the dowel, then hang it from a small wall hook.
For extra interest, choose fabric with stripes, simple patterns, or bold color blocks. You can also use a scarf, tea towel, or leftover curtain fabric.
3. Design Painted Geometric Art
You do not need advanced painting skills to create modern wall art. Geometric shapes are simple to plan and can be customized to suit any color scheme.
Steps to try
– Choose a canvas, thick paper, or a smooth piece of cardboard.
– Select two to four colors that work well together.
– Use painter’s tape to create triangles, blocks, or lines.
– Paint each section and let it dry fully.
– Carefully remove the tape to reveal crisp edges.
– Place the finished piece in a frame or hang it as it is.
Neutral colors create a calm look, while bright colors can add energy to a plain room. If you prefer a softer design, use curved shapes or overlapping circles instead of sharp angles.
4. Build a Floating Shelf Display
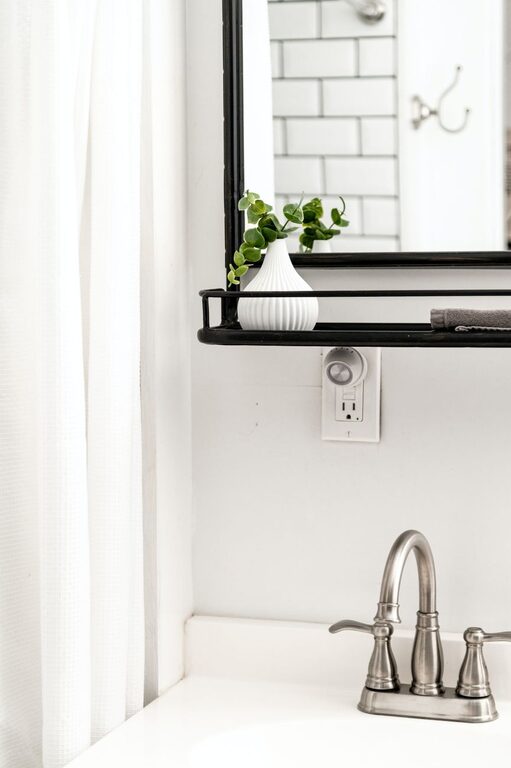
A narrow floating shelf can become both wall decor and useful storage. It is a practical choice for displaying small plants, books, candles, framed photos, or decorative objects.
Install one shelf on its own for a clean appearance, or place two or three shelves in a vertical arrangement. Keep the display balanced by combining items of different heights.
For example, place a small plant on one side, a framed print in the center, and a short stack of books on the other side. Avoid filling every inch of the shelf. Leaving some open space helps the arrangement look organized.
Always use wall hardware suited to the shelf and the type of wall. Follow the manufacturer’s instructions and avoid placing heavy items on a shelf that is designed for light decor.
5. Make a Nature-Inspired Display
Natural materials can bring a relaxed feeling indoors. Dried leaves, pressed flowers, twigs, grasses, and small branches can all be used to create simple wall art.
One easy option is to place pressed leaves or flowers between two glass panels in a floating frame. You can also arrange dried grasses in a narrow vase mounted to the wall or attach small branches to a wooden board.
Keep the colors natural for a calm, minimalist appearance. If you want something more playful, use colorful paper flowers or painted leaves instead. Avoid placing natural materials in areas with high moisture, such as directly beside a sink or shower.
6. Turn a Corkboard Into Decorative Art
A corkboard does not have to look like an office supply. With paint and a thoughtful arrangement, it can become an attractive and useful part of your decor.
Paint the frame in a color that matches your room, or cover the cork with fabric using adhesive. Add photos, notes, recipes, postcards, and small prints. Change the contents from time to time to keep the display fresh.
For a more finished appearance, place the board inside a larger frame. You can also make a set of two or three smaller boards and arrange them in a row.
7. Create a Mirror Arrangement
Mirrors can make a room feel brighter and more spacious. Instead of hanging one large mirror, try grouping several small mirrors together.
Look for mirrors with different shapes, such as round, square, oval, or arched designs. To create a coordinated look, choose pieces with similar frames. For an eclectic arrangement, mix styles while keeping the overall spacing consistent.
Lay the mirrors on the floor first and experiment with different layouts. A symmetrical arrangement feels polished, while an uneven grouping feels more casual. Place the display where it can reflect natural light or an attractive part of the room.
8. Make Oversized Paper Art
Paper is affordable, easy to find, and available in many colors and textures. Use large sheets of colored paper to make oversized flowers, fans, stars, or abstract shapes.
For a simple design, fold paper into accordion pleats and secure the center to form a fan. Make several fans in different sizes and attach them to the wall in a cluster. You can use removable adhesive strips if the pieces are lightweight.
Another option is to cut large leaves or abstract shapes from paper and arrange them in a flowing pattern. This project works especially well in children’s rooms, creative spaces, and temporary living spaces.
Tips for a Polished Finish
A few planning steps can make any DIY wall project look more professional.
– Measure the wall before choosing the size of your decor.
– Use paper templates to test placement without making holes.
– Keep the center of the arrangement at a comfortable viewing height.
– Repeat one color, material, or shape to connect different pieces.
– Mix large and small items for visual balance.
– Leave enough empty space so the wall does not feel crowded.
– Use removable hanging strips for lightweight items when appropriate.
If you are painting or gluing, protect the floor and nearby furniture. Let every piece dry completely before hanging it.
Refresh Your Space One Project at a Time
DIY wall decor is a simple way to make a room feel more personal. Whether you create a gallery wall, paint geometric art, or arrange natural materials, the best projects are the ones that fit your space and reflect your taste.
Start with one small area, gather materials you already have, and enjoy the process. A blank wall can become a colorful display, a useful storage area, or a meaningful collection with just a few thoughtful changes.
About the Author